I have a PAW print theme going on in my classroom (our mascot is a Tiger). I try to maintain a consistent theme of colors and patterns across the room. Here are my table labels. You can get a free copy of the Paw print table labels for yourself here.
I also had to create my own version of a clip chart, because I could NOT find very many cute decorations with Paw prints anywhere on the web. If you are interested in a copy just click on the picture below.
This past Friday we did a team building activity for the month of September. Last month's puzzle frenzy was so much fun, we decided that we do at least one every month. I got this idea from Leslie over at Science Gal. I LOVE her ideas and resources, so go on over to see her wonderful site.
Red Pyramid
Getter #1-gets 6 red cups and the rubber band with 4- 24 inch strings attached
Starter-sets up 3 cups facing down and 3 cups facing up
I am not sure the instructions out there, but my students were NOT allowed to touch anything other than their strings. They could not switch strings, touch the cups or the rubber band. They could do any other kind of maneuvering that would not break those rules. That was funny, because students started going under and over each other. The goal was to build the pyramid with 3 on bottom, 2 in the middle, and one on top. It was not a competition to see who finished first, but instead it was a "sticking to it" until you accomplish the task.
Reporter- reported out any strategies they felt were successful
Getter #2-collects and returns everything to teacher station
It was truly a lot of fun! My goal is to do one at least every other week. Does anyone have any ideas for other team building games?
It so wonderful to see almost every single one of my students with their parent(s). After having most of my students since 1st grade, I was afraid I would have a low turn out (what else could I possibly tell them, that they haven't already heard from me more than once).
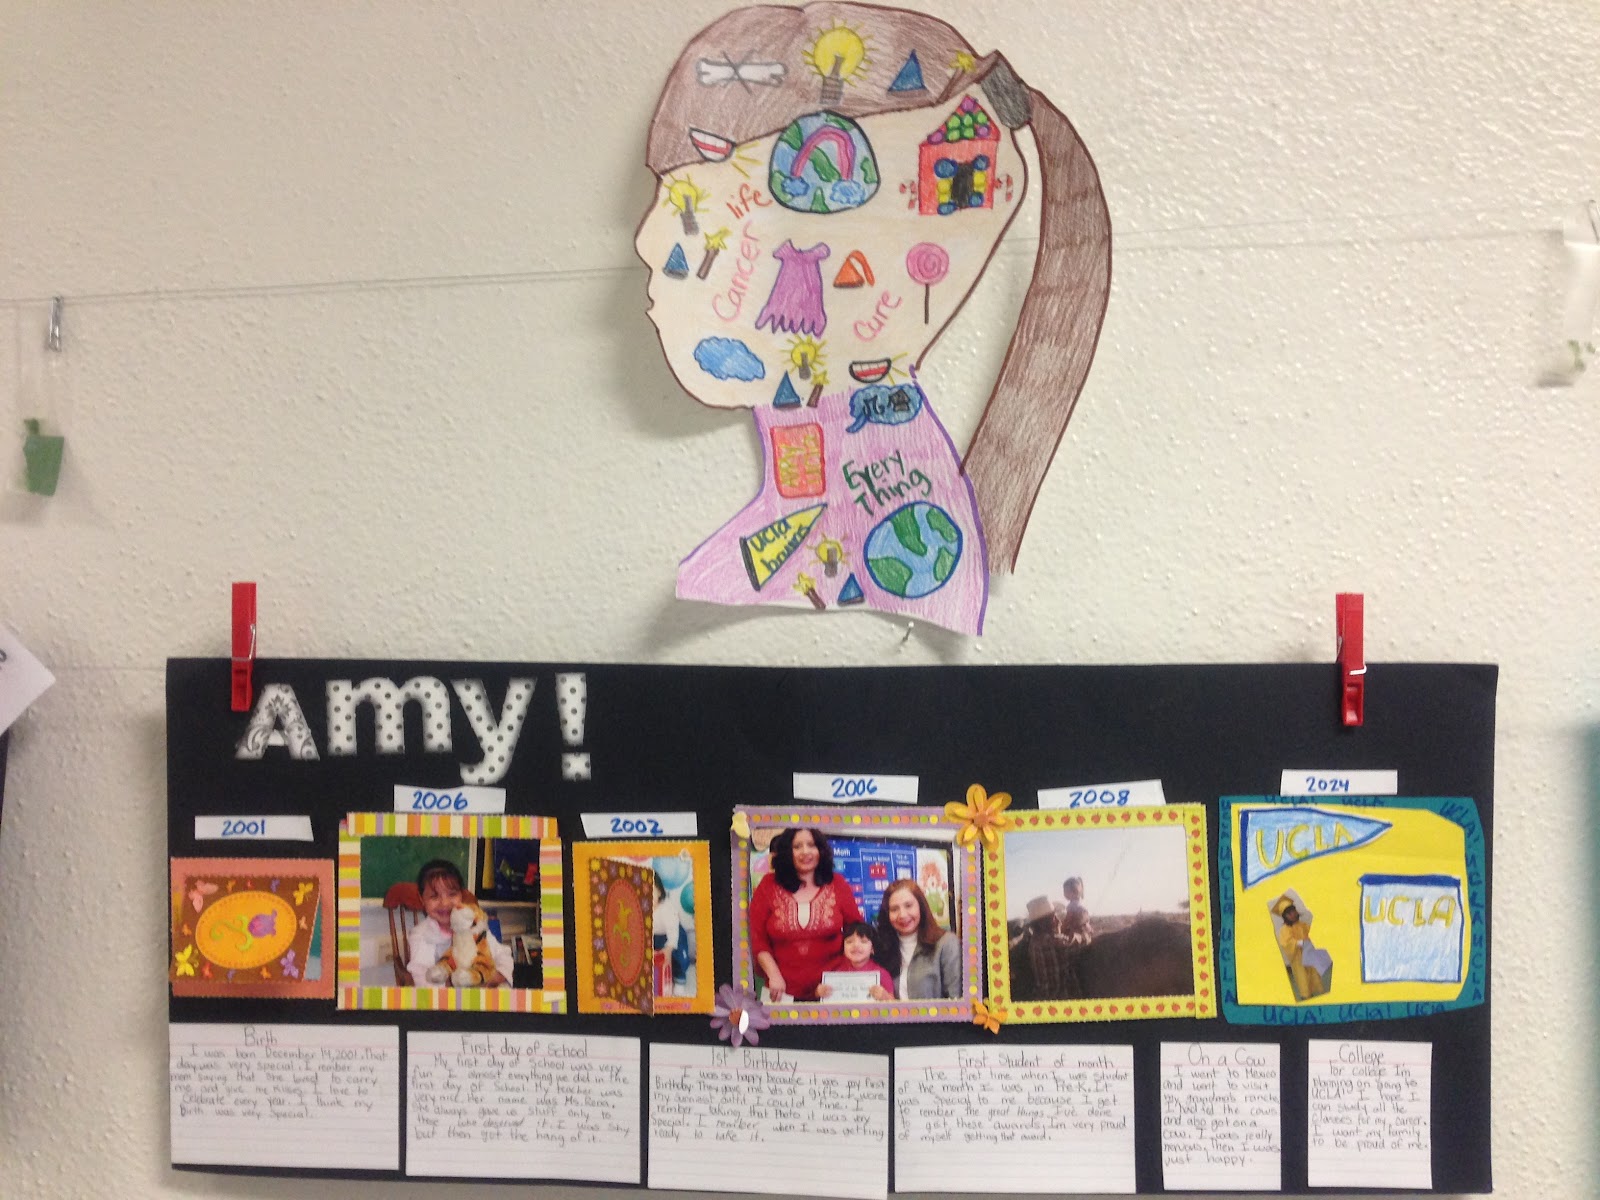
I really think that the decision, by the all the teachers, to have all the students do a social studies project to exhibit at Back to School, in order to increase parent involvement made a great difference. Parents were happily strolling the hallways looking at all the displays by the different classrooms. 5th grade decided to do a All About Me timeline. They had to include a birth picture, 3 significant events, and the last one had to be their graduation date (2024) with a picture of the college they will be graduating from. Beneath each picture they had to include a short summary of each of their pictures on an index card.
Another incentive to attend:
As a way to motivate students to try their best and put in a sincere effort, even when the going gets tough during the CST, every year I give students who receive proficient or advance in either language arts and/or math a medal. Every year the amount of students getting those scores has increased. This year was pretty pricey since so many students received advance in both areas, and I buy the medals myself (BUT it is truly worth it).
We have been doing so many projects and investigations about digestion, that I found myself worried about whether or not they were retaining and truly understanding the concepts. To sum-up our learning, including the circulatory and respiratory system, I gave the students a full size body of themselves (they got a kick out of that). They had to place the parts in the correct spot, label, and describe the the organ and its function. The digestion section was one complete page that had cut out flaps. They wrote in the information themselves using their science resource book.
As I walked around I heard them asking each other questions trying to clarify information before they wrote it down. What a great way to sum-up, review and practice big concepts!
I think they came out really cute.
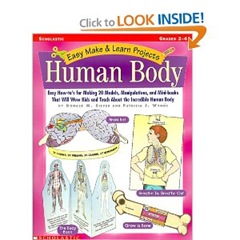
The flap page and other resources came from this great teacher book.
We are now moving on to vascular plants, before we begin to make comparisons and connections back to the human system.
Today was an extremely awesome day! My students and I were able to see history in
the making and we now have a memory to share forever. The shuttle
Endeavour, riding piggyback on a modified Boeing 747 carrier aircraft
with two escort jets, made a low flyover above our own Bridge Street
School. The space shuttle Endeavour not only passed by our own school,
it took to the skies above California for its
last-ever flight today (Sept. 21), giving observers from Sacramento to
Los Angeles a one last chance to see a NASA shuttle soar through the air
atop a jumbo jet. I know that it was an amazing experience for all of
us and I am so glad we were able to experience it together!
Today we looked at how fat and protein are digested even further in the small intestine with the help of the liver by doing an emulsification project. I explained how in order to properly break down and digest fat, people need the liver and the gall bladder to do their jobs. The liver is the one responsible for producing bile and storing it in our gall bladder until it is needed in the small intestine.
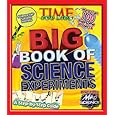
Our experiment came from an excellent science resource filled with tons of friendly information and awesome experiments:
Our project consisted of seeing emulsification in action. We used milk as suggested because it contains fats and proteins in solution. The following materials are needed:
(cups, detergent, food coloring, milk)
We placed about 1/4 cup of milk in a cup, added a small spoonful of detergent to bring the substances that are normally not soluble together. We jotted our observations. It was still difficult to "see" the fats/proteins clumped together. We then added the food coloring and we saw the explosion of colors. It was then much easier to observe the fats/proteins in the milk. We discussed that because bile emulsifies fats, bringing them together with water, this makes it much easier for enzymes to get at the fats/proteins and break them down even further in the small intestine.
It was really neat to see their faces as they were making their observations...and of course hearing them say, "Wow! How cool!" makes teaching so worth it.
Part 1
We are still going strong with the digestive system. Today we looked at the role and function of the digestive system. We discussed how once the bolus leaves the stomach and enters the small intestine, it is the the consistency of a smoothy, therefore easier for the the blood stream to absorb nutrients through the villi of the small intestine (I KNOW it is overly simplified). We then did the following activity (from http://kids.niehs.nih.gov/explore/pollute/water2_digestive_system.htm) in teams of 2, to help them visualize the transport of nutrients across the small intestine wall:
They were able to "see" that nutrients without the assistance of water just stay there. Once we added the water it was very easy to see how the nutrients left the small intestine and are transported into the blood (the inner cup). They were amazed!
Here is a picture of before we added water and after we added water.
We even added capillaries!
Tomorrow we will be doing another activity that helps to explain the breakdown of fats and proteins in the small intestine with the assistance of the liver and pancreas. Will post those pictures too.
I have no idea what I did with my post, so I will do it AGAIN!
First, let me tell you about my wonderful, fabulous, amazing, one-of-a kind, parent volunteer, Mrs. F. I swear she can read my mind and do things before I even request them. Every time we have a new unit of study she makes these awesome shirts for us. The students bring in a plain T-shirt, I supply all the fabric paint, and she does all the magic. Viola!
Now on to Digestion... Lesson 4:
Once again we began by reviewing the previous lessons and reading from our Science Resource book.
We then began our lesson by writing the question:
What happens to the bolus once it reaches our stomach?
Students were given 2 ziploc quart size baggies (an extra for reinforcement), some pieces of lettuce, a cracker, a piece of tostada, and some peanuts. They wrote and drew the contents of their stomachs in their science notebooks. They then had to take turns with their partner simulating the movement their stomach makes to churn up food with their fingers. The contents of the bag were dry--mechanical digestion. They drew what their stomach looked like after the churning.
We discussed what they observed:
-the lettuce is not easily broken down into smaller pieces
-the cracker and tostada are crumbled and in smaller parts
-the peanuts are pretty much whole
-it makes sense for food to last up to 4 hours in our stomach
For the second part-chemical digestion-students added about 1 tablespoon of water and 2 tablespoons of vinegar (to act like the gastric juices in our stomachs). Students once again churned away and then took notes on what they observed. It did look pretty gross and we had just finished having lunch.
Students once again had the opportunity to complete their science journal entries.
My students had a lot of fun. I could tell from all the oohs and aahhs. I am really glad they are learning, having fun and understanding very abstract concepts.
These activities, like many of the ones before, came from great science
teachers/bloggers I follow (Maureen athttp://www.spelloutloud.com and Karen at http://science-mattersblog.blogspot.com) and from Pinterest ideas. Thanks to them
for making science so much fun!
I hope I didn't leave anything out that I had on the one that disappeared. If I did or you need further information, leave me a comment below. We will now be moving on to the small intestine next and planning another gross, yet very fun activity I hope. Does any one have any other suggestions or ideas?
We have just started to work on the digestive system. After the abstract concepts of the respiratory and circulatory system (NOT that digestion is any less abstract, but at least I have found some great ideas on Pinterest that I could do with my kids), I was truly looking forward to the digestive system. This is what we have been up to: Lesson 1:
To get an overview of the digestive system we began by watching a short video on BrainPOP. (You do need a subscription to this site) While my students watched the video they took notes in their science notebook on their own of what they felt was important, as well as filled in a digestive system diagram as best as they could. We will go over it together later on and add important/missing information and details.
There is another great video on youtube, calledLog Ride, you can show your students. It has a very funny ending.
Lesson 2: We began by reading the section of the mouth in our Science Resource book. Students observed each others mouth and drew what they saw in their notebooks. They were amazed at what was in their mouths and were really excited to share their observations.
We then took it a step further and did a gross, but fun project. Students were asked to take a cracker and draw what it looked like before it gets placed in their mouths in their science notebook. They were then asked to place it in their mouths, chew it 2 times, stop chewing, open their mouths and allow their partner to observe the contents of their mouths. The observing partner had to draw what they saw. As you can imagine, this created a lot of onomatopoeia from my students as well as other phrases. We repeated the steps above 3 times. By then the cracker had pretty much dissolved in their mouths and they were allowed to swallow. We debriefed on what they saw:
"food breaks down into smaller pieces"
"food gets mushy"
"food clumps together", etc.
We then discussed what part of what occurred was the mechanical digestion and what part was the chemical digestion. We then renamed chewed food into bolus. (they love academic words)
Lesson 3: This lesson also started out with reading about the esophagus from our Science Resource book. We discussed where the food goes after it leaves our mouth. To help my students the process, I took some pantyhose and cut them in half. Each team got 1 leg of the pantyhose (the esophagus) with one large plastic egg (the bolus). They had to move the bolus along the esophagus without touching the egg, keeping the "esophagus" vertical, and without shaking it in any way.
They were able to observe by doing, that the walls of the esophagus propel food to the stomach not by gravity,
but by rhythmic waves of muscular contractions called peristalsis.
We also discussed other times we become aware of our esophagus, when we sometimes feel the esophagus when we swallow something too
large, try to eat too quickly, or drink very hot or cold liquids.
We will be working on the stomach, small intestine, and others as the days go by. Will post pictures later.
My students are having a blast learning, I am having a blast teaching, and hopefully it will all come together for our district assessment.
Our trip to the J. Paul Getty Museum at the Villa was truly
breath-taking. This was my first time at this museum. The trip there was
slow due to the horrendous traffic on the west 10 Freeway. It took us
over an hour to get there. Once we were on Highway 1, the Santa Monica
Beach scenery engulfed us with its shimmering waves and sea-salt air.
When we finally arrived, we were at the base of the mountain and had to
travel the route up the hill. The stone road, the gardens, trees, and
fountains leading to the top left us all in awe. We entered the grand
hallway and immediately set out to see as much as possible. The artwork,
artifacts, and statues made of marble and other stones were
unbelievably beautiful.We saw the magnificence of Zeus,
Herkales/Hercules, and a huge lion attacking a horse. We were truly
lucky to have the opportunity to observe such artwork. Thanks to the
Getty for sponsoring our buses.